New Release and marketplace updates!
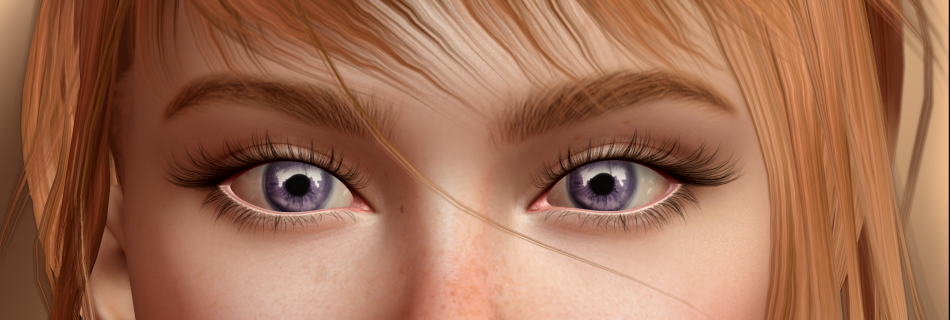
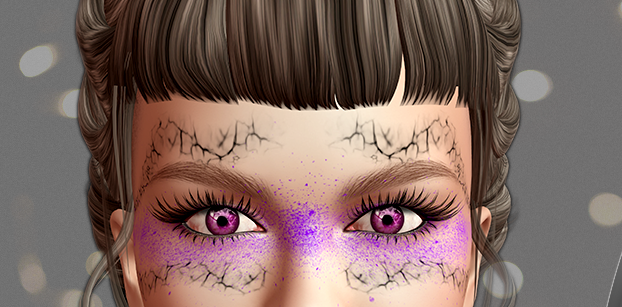
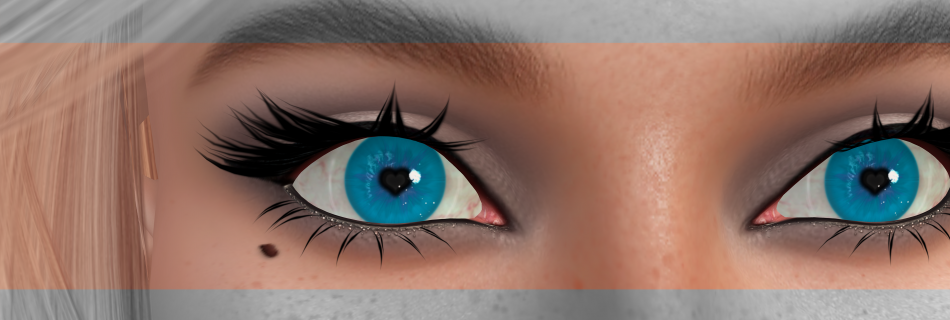
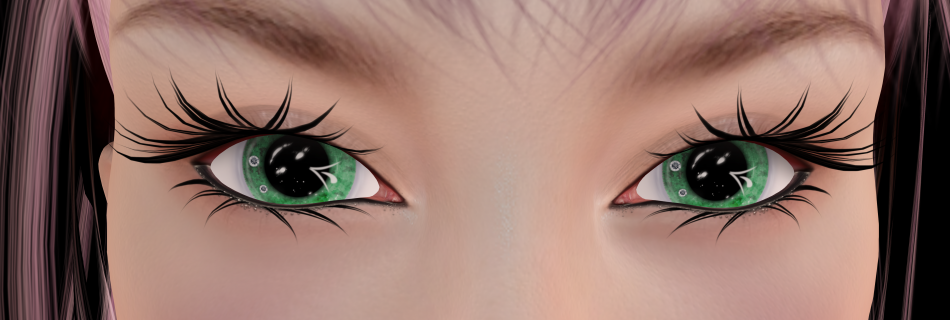
Hi lovelies, today was maintenance day and a huge why have I forgotten this thing moment. The marketplace is now updated with the Sol, Dolly and Glitter eyes. If it’s a lot easier for you to shop online and you don’t have these yet, grab the demos and see if they suit you. There is …